After unsuccessfully trying to add the Chinese Teckin cameras to Home Assistant, I decided to reuse an old phone, turn it into an IP camera, and add it to Home Assistant. It worked.
I ended up following a Russian tutorial to understand the process better. Below is what you will need for this setup:
An old Android phone + charger cable.
IP Webcam Pro. It needs to be the Pro version because the free version does not support RTSP.
A phone holder so you can leave it where you want.
A USB cooler, optional, because depending on the phone it may heat up. Keeping the screen locked also helps.
A static IP for the phone, because if the IP changes you will need to redo the Home Assistant configuration.
First, it is best to set a static IP to avoid headaches. You can do this directly on the router, assigning a static IP by the phone's MAC address, or on the phone itself by changing the network settings from DHCP to manual IPs. I will not detail that here so the tutorial does not get too long, but I can write a separate tutorial if anyone wants it.
The second step is installing IP Webcam Pro. There is not much to explain here: install it and then start the server from the upper-right corner.
Here are the links you will need to configure it in Home Assistant or manage it:
http://YOURIP:8080/video => direct video stream
http://YOURIP:8080 => camera management panel
http://YOURIP:8080/shot.jpg => latest camera frame for Home Assistant
rtsp://YOURIP:8080/h264_ulaw.sdp => RTSP protocol for Home Assistant
In Settings > Devices & Services > Add Integration, select Generic Camera.
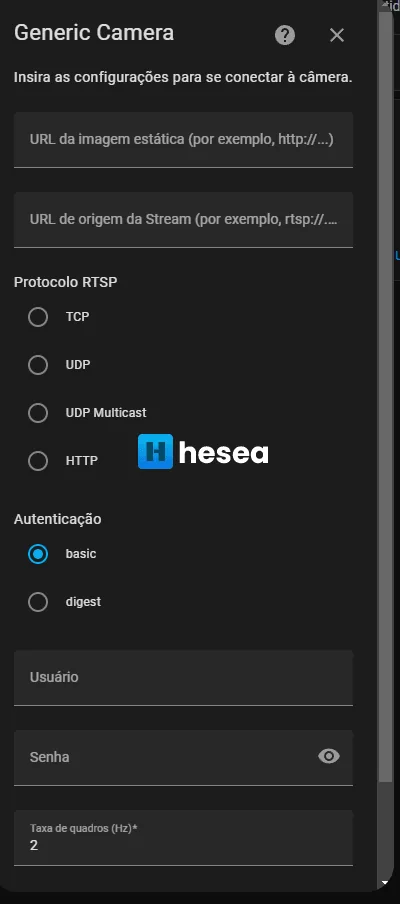
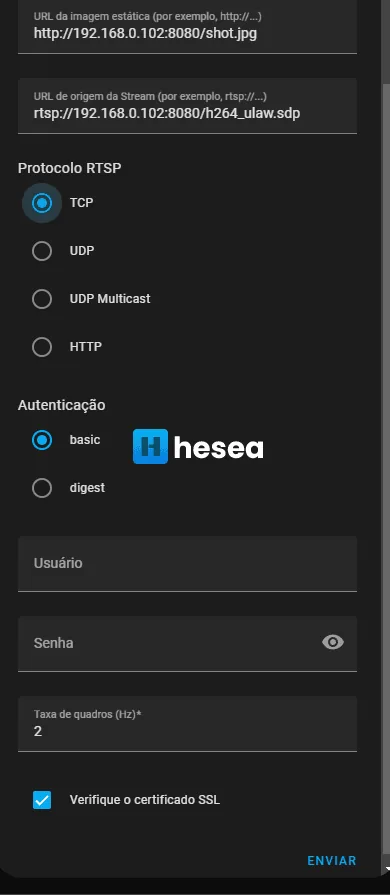
Your settings should look similar to the screenshots above, changing only the IP to match your local network. If everything is correct, clicking Submit should add the camera. It should then appear in the device list.
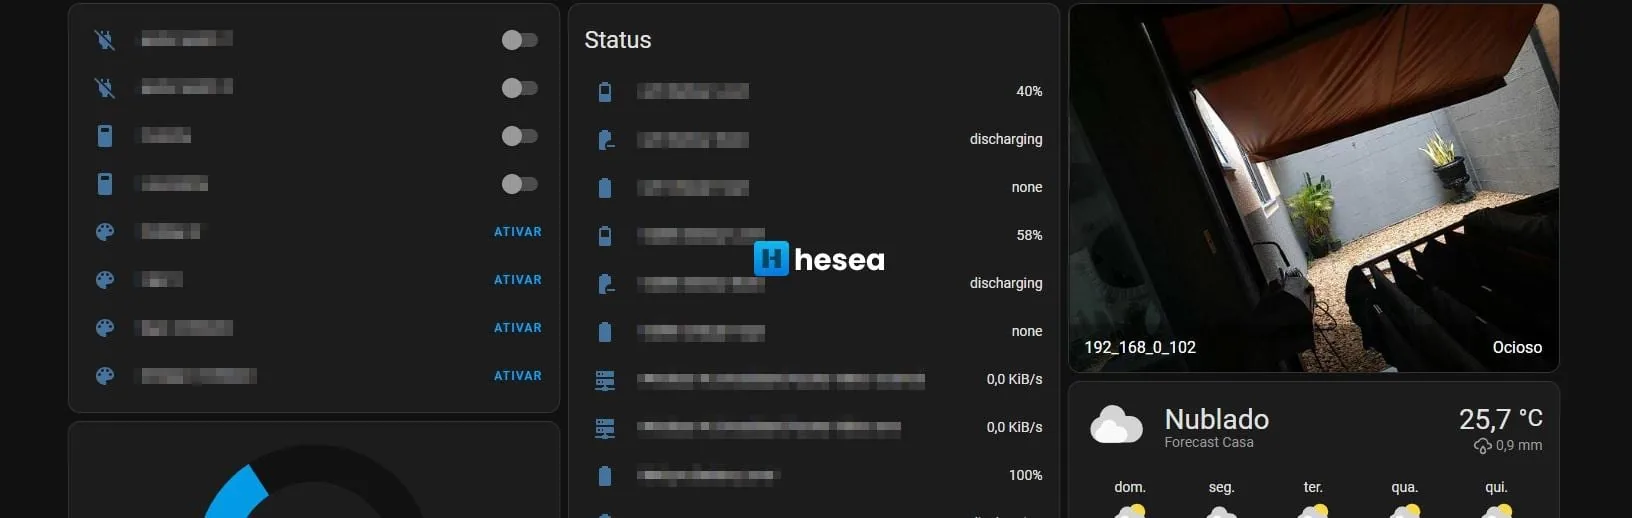
Now you can access it from the media browser or add it to the overview, and your Android IP camera will be available inside Home Assistant.
Comments
Join the conversation
Loading comments...